The curious incident of playing 5 million Monopoly JR games with Python

This is the story of my lockdown during a global pandemic. [ Cue post-apocalypse 🎼]
Amid a global pandemic, schools and workplaces shut down, and families had to huddle together at home. There was no escape. Everyone was getting on each others' nerves. Running out of options, we played Monopoly Junior, which my daughter recently learned how to play. As we went over several games, we found the beginner winning every game. Was it beginner's luck? I seethed with rage. Intuitively, I knew the odds were against me. I wasn't terrible at Monopoly. I had to prove it with science.
How would I prove it with science? This sounds ridiculous at first, but you'd do it by playing 5 million Monopoly Junior games. Yes, once you play enough games, suddenly your anecdotal observations become INSIGHT. (Senior lawyers might also call it experience, but I am pretty sure that they never experienced 5 million cases.)
This is the story of how I tried different ways to play 5 million Monopoly JR games.
What is Monopoly Junior?
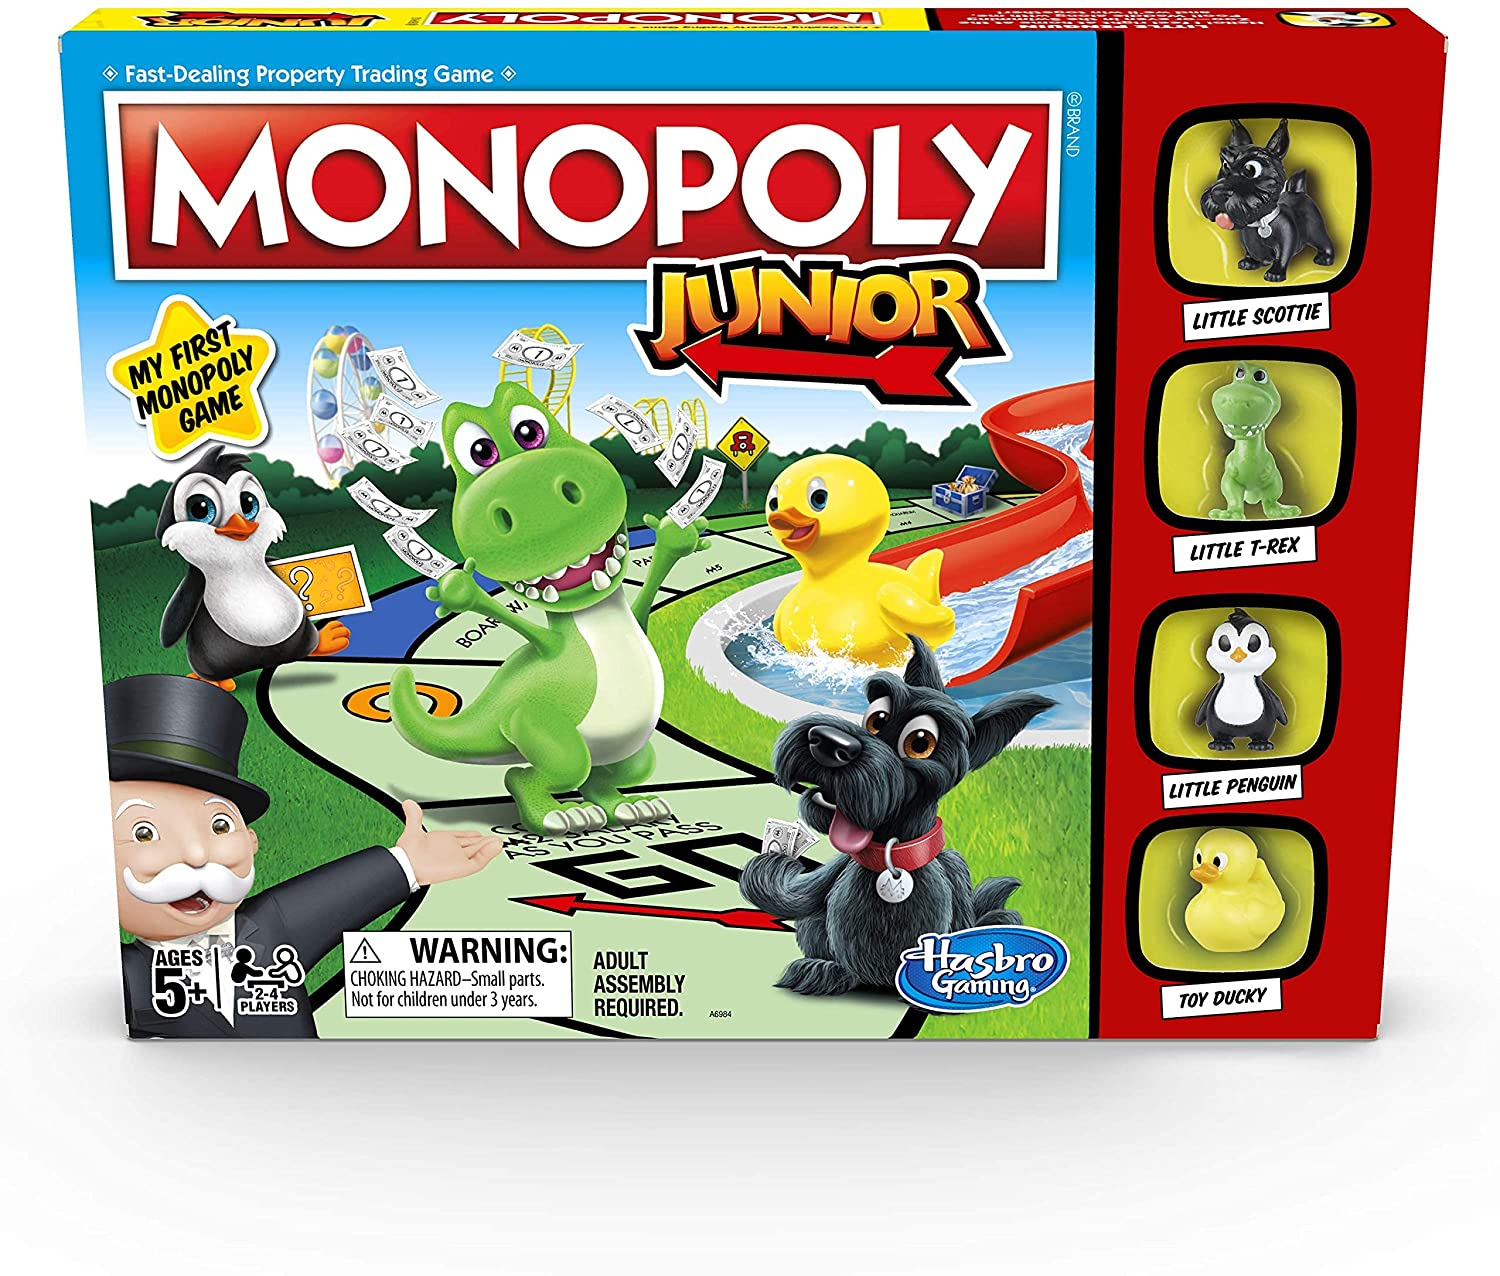 The cover for the Monopoly Junior board game.
Most people know what the board game called Monopoly is. You start with a bunch of money, and the goal is to bankrupt everyone else. To bankrupt everyone else, you go round the board and purchase properties, build hotels and take everyone else's money through rent-seeking behaviour (the literal kind). It's a game for eight and up. Mainly because you have to count with hundreds and thousands, and you would need the stamina to last an entire night to crush your opposition.
If you are, like my daughter, five years old, Monopoly JR is available. Many complicated features in Monopoly (for example, counting past 30, auctions and building houses and hotels) are removed for young players to join the game. You also get a smaller board and less money. Unless you receive the right chance card, you don't have a choice once you roll the dice. You buy, or you pay rent on the space you land on.
As it's a pretty deterministic game, it's not fun for adults. On the other hand, the game spares you the ignominy of mano-a-mano battles with your kids by ending the game once anyone becomes bankrupt. Count the cash, and the winner is the richest. It ends much quicker.
Hasbro Monopoly Junior Game,A69843480 : Amazon.sg: ToysHasbro Monopoly Junior Game,A69843480 : Amazon.sg: Toys
Determining the Approach, Realising the Scale

There is a pretty straightforward way to write this program. Write the rules of the game in code and then play it five million times. No sweat!
However, if you wanted to prove my hypothesis that players who go first are more likely to win, you would need to do more:
- We need data. At the minimum, you would want to know who won in the end. This way, you can find out the odds you'd win if you were the one who goes first (like my daughter) or the last player (like me).
- As I explored the data more, interesting questions began to pop up. For example, given any position in the game, what are the odds of winning? What kind of events cause the chances of winning to be altered significantly?
- The data needs to be stored in a manner that allows me to process and analyse efficiently. CSV?
- It'd be nice if the program would finish as quickly as possible. I'm excited to do some analysis, and waiting for days can be burdensome and expensive! (I'm running this on a DigitalOcean Droplet.)
The last point becomes very troublesome once you realise the scale of the project. Here's an illustration: you can run many games (20,000 is a large enough sample, maybe) to get the odds of a player winning a game. Imagine you decide to do this after every turn for each game. If the average game had, say, 100 turns (a random but plausible number), you'd be playing 20,000 X 100 = 2 million additional games already! Oh, let's say you also want to play three-player and four-player games too...
It looks like I have got my work cut out for me!
Route One: Always the best way?
I decided to go for the most obvious way to program the game. In hindsight, what seemed obvious isn't obvious at all. Having started programming using object-orientated languages (like Java), I decided to create classes for all my data.
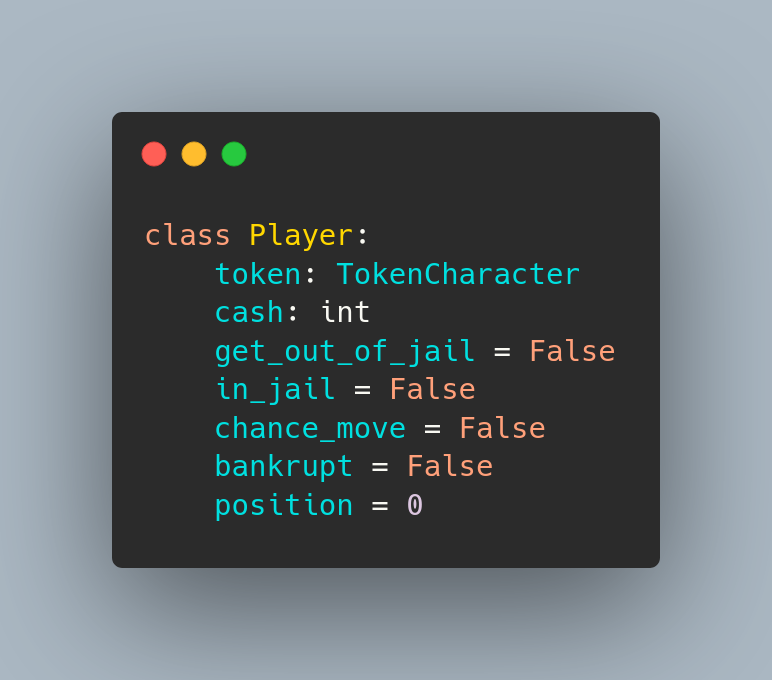 An example of how I used a class to store my data. Not rocket science.
The classes also came in handy when I wrote the program to move the game.
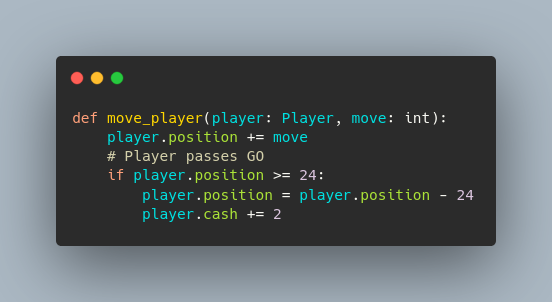 Object notation makes programming easy.
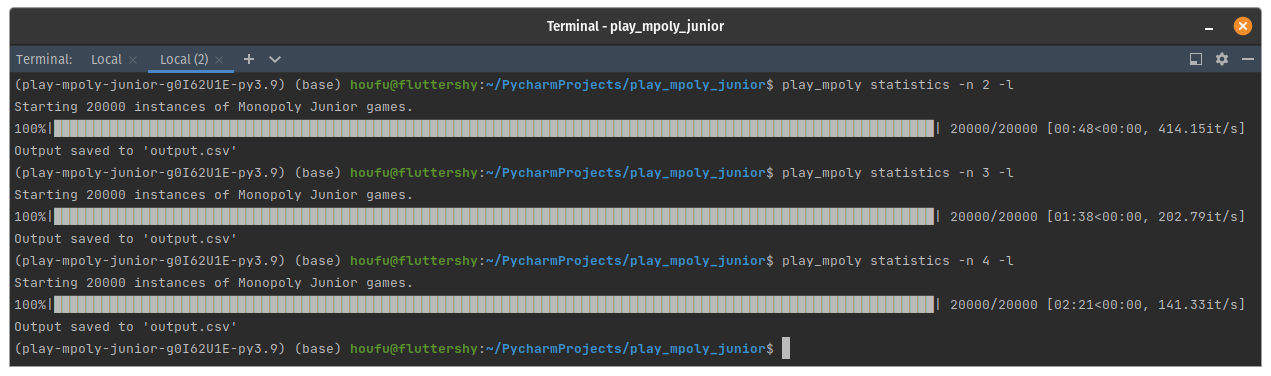
It was also pretty fast, too — 20,000 two-player games took less than a minute. 5 million two-player games would take about 4 hours. I used python's standard multiprocessing modules so that several CPUs can work on running games by themselves.
 Yes, my computers are named after cartoon characters.
After working this out, I decided to experiment with being more “Pythonic”. Instead of using classes, I would use Python dictionaries to store data. This also had the side effect of flattening the data, so you would not need to access an object within an object. With a dictionary, I could easily use pandas to save a CSV.
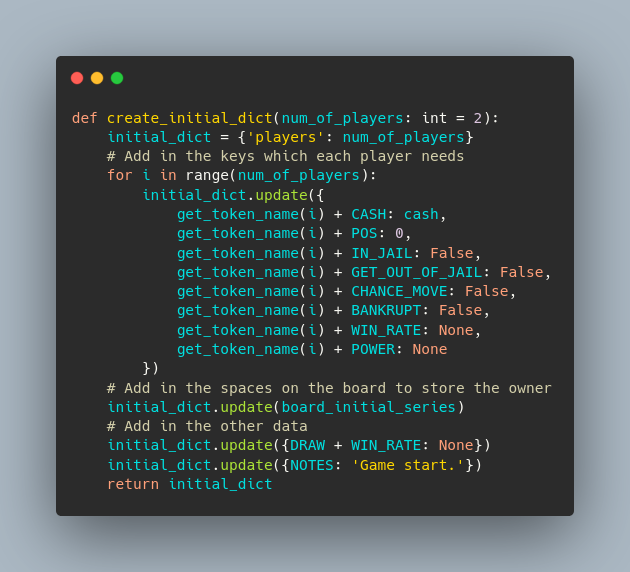 This snippet shows how the basic data for a whole game is created.
Instead of using object notation to find data about a player, the data is accessed by using its key in a python dictionary.
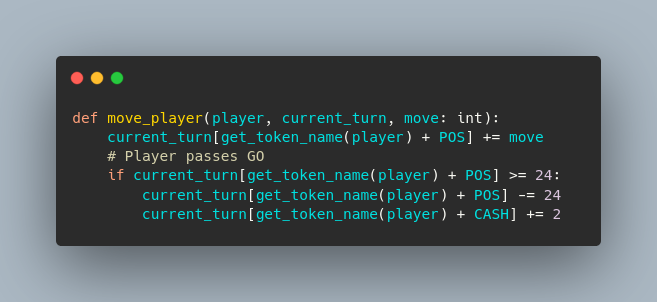 The same code to move player is implemented for a dictionary.
I didn't think it would make a difference honestly. However, I found the speed up was remarkable: almost 10 times! 20,000 two-player games now took 4 seconds. The difference between 4 seconds and less than a minute is a trip to the toilet, but for 5 million games, it was reduced from 4 hours to 16 mins. That might save me 20 cents in Droplet costs!
 Colour me impressed.
Here are some lessons I learnt in the first part of my journey:
- Your first idea might not always be the best one. It's best to iterate, learn new stuff and experiment!
- Don't underestimate standard libraries and utilities. With less overhead, they might be able to do a job really fast.
- Scale matters. A difference of 1 second multiplied by a million is a lot. (More than 11.5 days, FYI.)
A Common-Sense Guide to Data Structures and Algorithms, Second EditionBig O notation can make your code faster by orders of magnitude. Get the hands-on info you need to master data structures and algorithms for your daily work.Jay Wengrow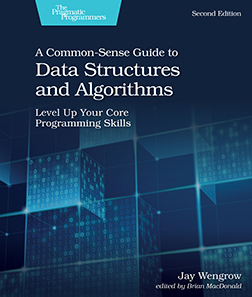 Learn new stuff – this book was useful in helping me dive deeper into the underlying work that programmers do.
Route 3: Don't play games, send messages
After my life-changing experiment, I got really ambitious and wanted to try something even harder. I then got the idea that playing a game from start to finish isn't the only way for a computer to play Monopoly JR.

As time progressed in lockdown, I explored the idea of using microservices (more specifically, I read this book). So instead of following the rules of the game, the program would send “messages” depicting what was going on in a game. The computer would pick up these messages, process them and hand them off. In other words, instead of a pool of workers each playing their own game, the workers would get their commands (or jobs) from a queue. It didn't matter what game they were playing. They just need to perform their commands.
 A schematic of what messages or commands a worker might have to process to play a game of Monopoly JR.
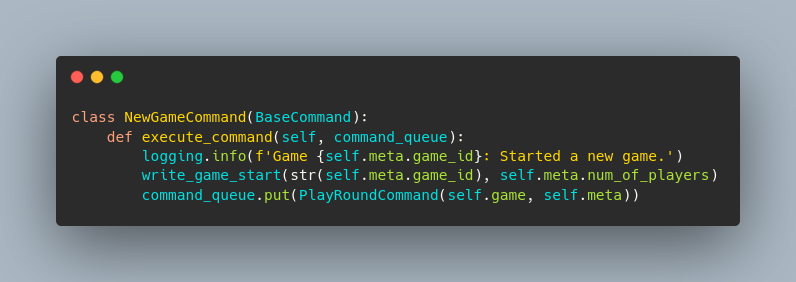 When the NewGameCommand is executed, it writes some information to a database and then puts a PlayRoundCommand in the queue for the next worker.
So, what I had basically done was chop the game into several independent parts. This was in response to certain drawbacks I observed in the original code. Some games took longer than others and this held back a worker as it furiously tried to finish it before it could move on to the next one. I hoped that it could finish more games quickly by making independent parts. Anyway, since they were all easy jobs, the workers would be able to handle them quickly in rapid succession, right?
It turns out I was completely wrong.
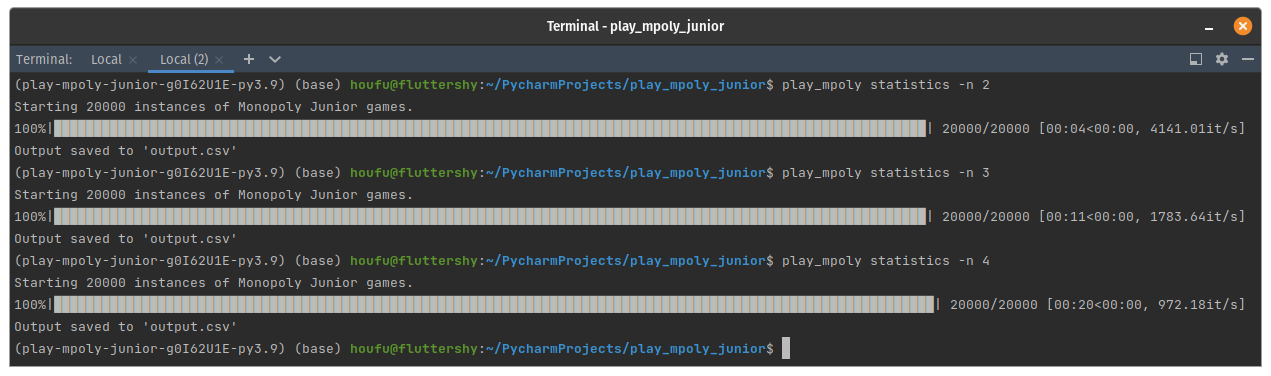
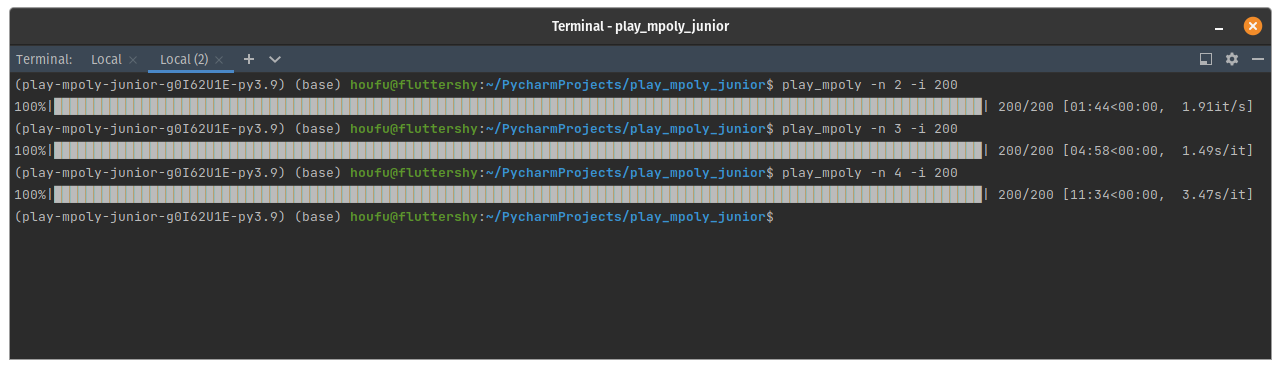 It was so traumatically slow that I had to reduce the number of games from 20000 to 200 just to take this screenshot.
Instead of completing hundreds or thousands of games in a second, it took almost 1 second to complete a game. You wouldn't be able to imagine how long 5 million seconds would now take. How much I would have to pay DigitalOcean again for their droplets? (Maybe $24.)
What slowed the program?

I haven't been able to drill down the cause, but this is my educated guess: The original command might be simple and straightforward, but I might have introduced a laborious overhead: operating a messaging system. As the jobs finished pretty quickly, the main thread repeatedly asked what to do next. If you are a manager, you might know why this is terrible and inefficient.
Experimenting again, I found the program to improve its times substantively once I allowed it to play several rounds in one command rather than a single round. I pushed it so hard that it was literally completing 1 game in 1 command. It never reached the heights of the original program using the python dictionaries though. At scale, the overhead does matter.
Best Practices — Dask documentation Thinking about multiprocessing can be counterintuitive for a beginner. I found Dask's documentation helpful in starting out.
So, is sending messages a lousy solution? The experiment shows that when using one computer, its performance is markedly poor. However, there are circumstances when sending messages is better. If several clients and servers are involved in the program, and you are unsure how reliable they are, then a program with several independent parts is likely to be more robust. Anyway, I also think it makes the code a bit more readable as it focuses on the process.
I now think a better solution is to improve my original program.
Conclusion: Final lessons
Writing code, it turns out, isn't just a matter of style. There are serious effects when different methods are applied to a problem. Did it make the program faster? Is it easier to read? Would it be more conducive to multiprocessing or asynchronous operations? It turns out that there isn't a silver bullet. It depends on your current situation and resources. After all this, I wouldn't believe I became an expert, but it's definitely given me a better appreciation of the issues from an engineering perspective.
Now I only have to work on my previous code😭. The fun's over, isn't it?
#Programming #blog #Python #DigitalOcean #Monopoly #DataScience

- Discuss... this Post
- If you found this post useful, or like my work, a tip is always appreciated:

- Follow this blog on the Fediverse [Enter the blog's address in Mastodon's search accounts function]
- Contact me:

 Pi-hole logotelekrmor
 So many queries, so many blocked. ( Update 11/5/20 : Screenshot updated to show the new version 5.0 interface. So many bars now!)
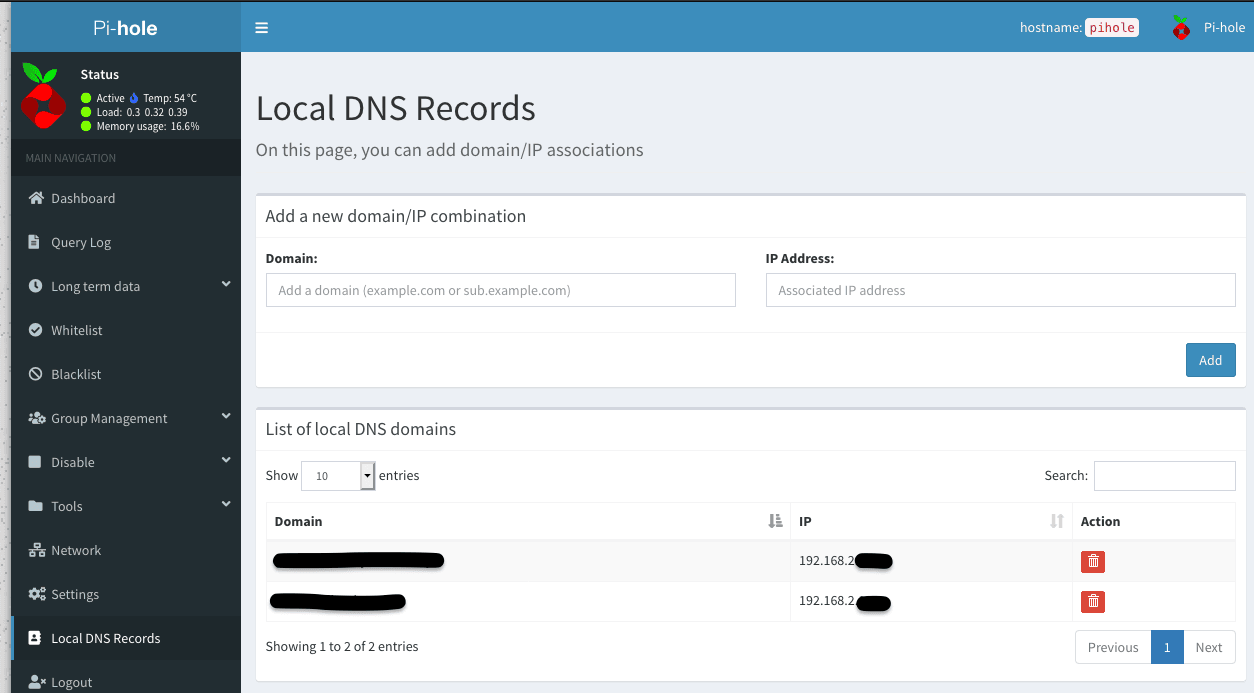 The dashboard used to add local DNS domains. New in version 5.0.
 Traefik Labs: Makes Networking Boring